New & Noteworthy

Field Insights
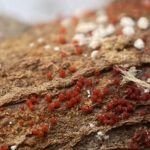
To Spray or Not to Spray? Not the Right Question
To spray or not to spray? It’s the age-old question all growers face: is spraying a...
Field Insights
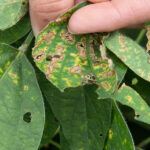
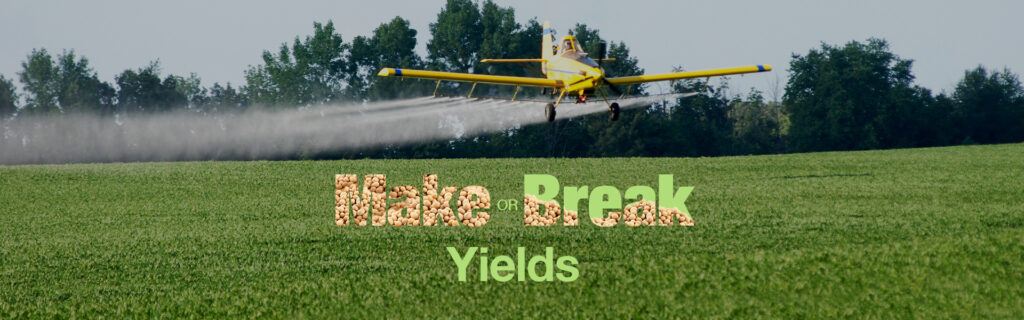
Fungicide Timing Can Help Make or Break Yields
We've all heard it before: Timing is everything, and it couldn't be more true when considering...
Field Insights
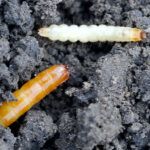
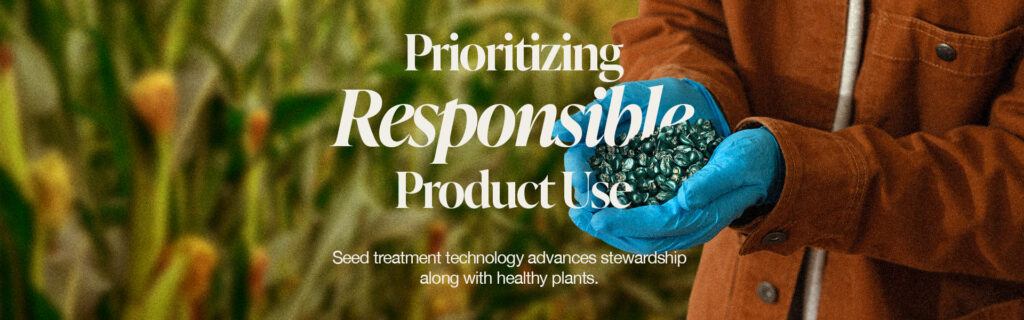
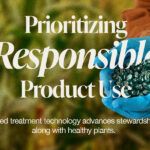
Prioritizing Responsible Product Use
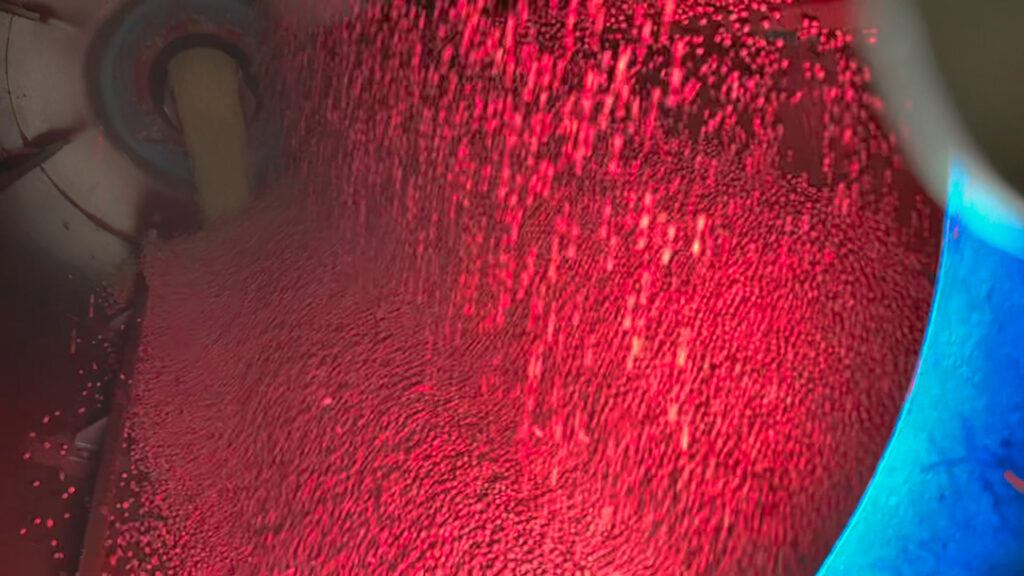
Seed treatment technologies are effective tools for achieving greater yields, healthier crops and higher ROIs. Because...
Field Insights
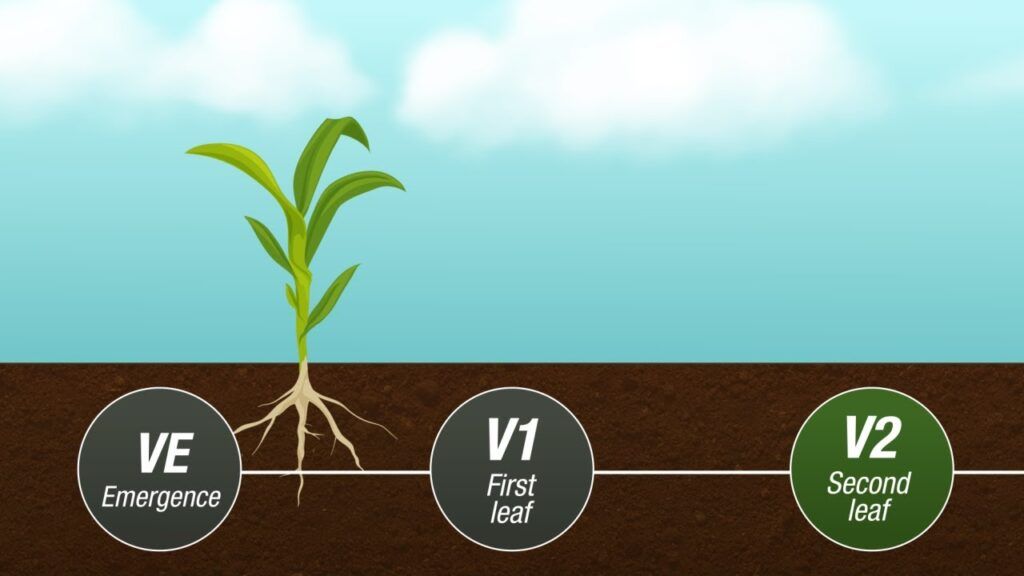
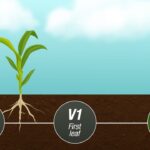
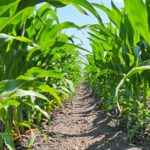
Corn Fungicide Timing
Maximize the impact of fungicides with timely applications to protect corn when it's most vulnerable to...
Field Insights
Field Insights
To Spray or Not to Spray? Not the Right Question
To spray or not to spray? It’s the age-old question all growers face: is spraying a...

Tech & Research

Tech & Research
Protecting Investments Against a Drop in Commodity Prices
Cropwise™ Commodity Pro, a new offering within the Cropwise digital portfolio, was created with growers in...


Community & Culture

Community & Culture
Elevating Diversity and Equality in Farming
The 2018 Farm Bill introduced an advocacy and policy research initiative designed to uplift a group...


Policy & Markets
Policy & Markets
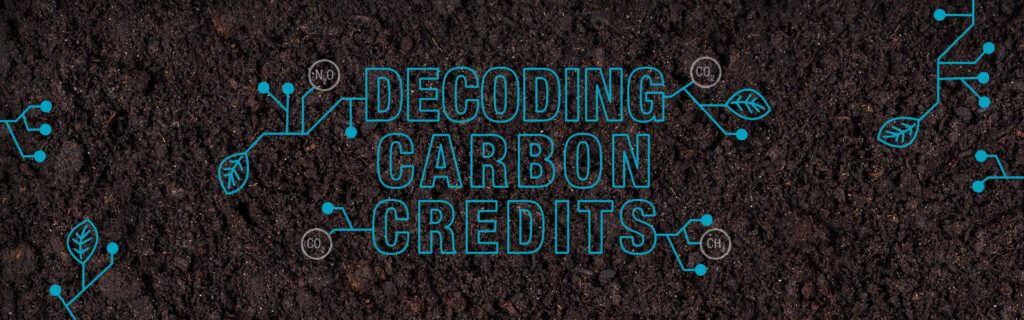
Ask the Experts: What You Need to Know About Carbon Credits
Q. What are carbon credits and why are they important? A. Jason Neff, Ph.D., soil and...


Videos
Field Insights
Corn Fungicide Timing
Maximize the impact of fungicides with timely applications to protect corn when it's most vulnerable to...
Field Insights
Setting Seedlings Up For Success
Experts from The Seedcare Institute dive into what makes seed treatments a worthwhile investment for every...

Community & Culture
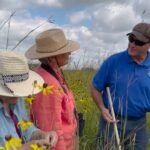
Stewardship: A Bouska Family Tradition
Sisters and co-owners of Highland Farm continue their family’s legacy of stewardship with pollinator habitats and...
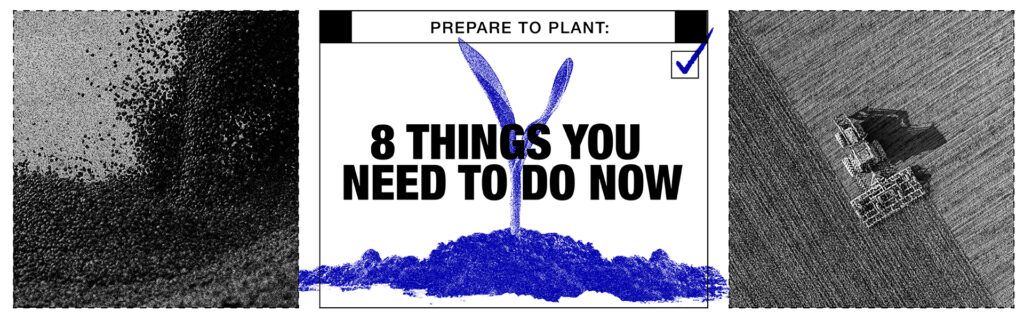
Planting
Field Insights
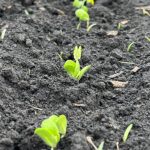
Don’t Let Weak Roots Limit Your Crops’ Growth
Cereal and pulse crop planting is right around the corner, so you may be monitoring the...
Field Insights
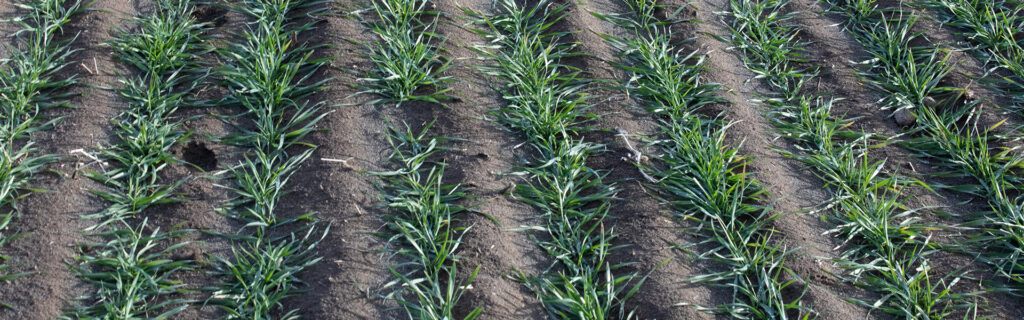
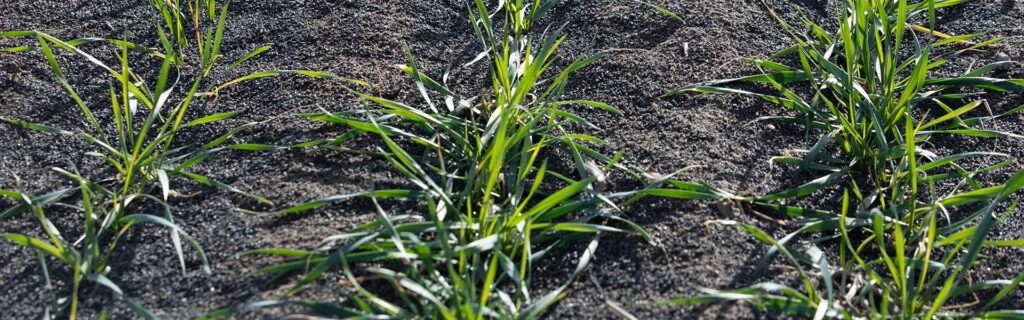
Help Support Uniform Stand Establishment for Cereal and Pulse Crops
When thinking about planting wheat, be sure to consider how to help ensure even emergence and...
Field Insights
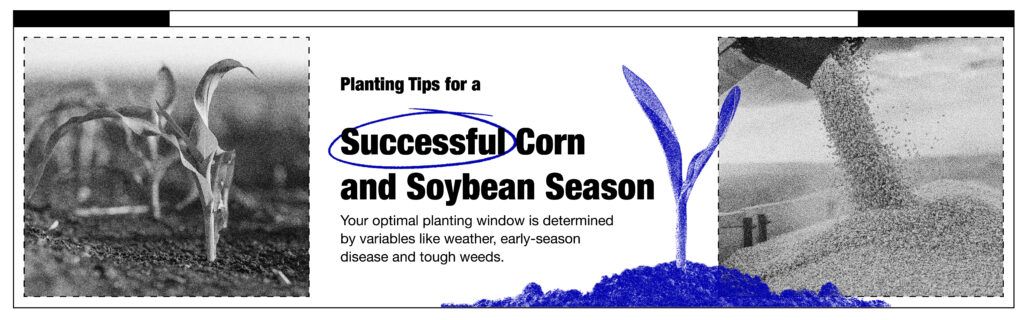
Planting Tips for a Successful Corn and Soybean Season
There are very few constants in farming, especially when it comes to planting. Soil temperature, moisture...